IoT for Beginners: How It Works and 5 Projects to Build
In this article (10 sections)
Your phone can switch off a light at home from another city. A farmer can see the soil moisture of a field without walking to it. A factory knows that a machine is getting hot before it breaks. All of this is IoT, the Internet of Things, and the basic idea is much simpler than the name suggests.
What is IoT?
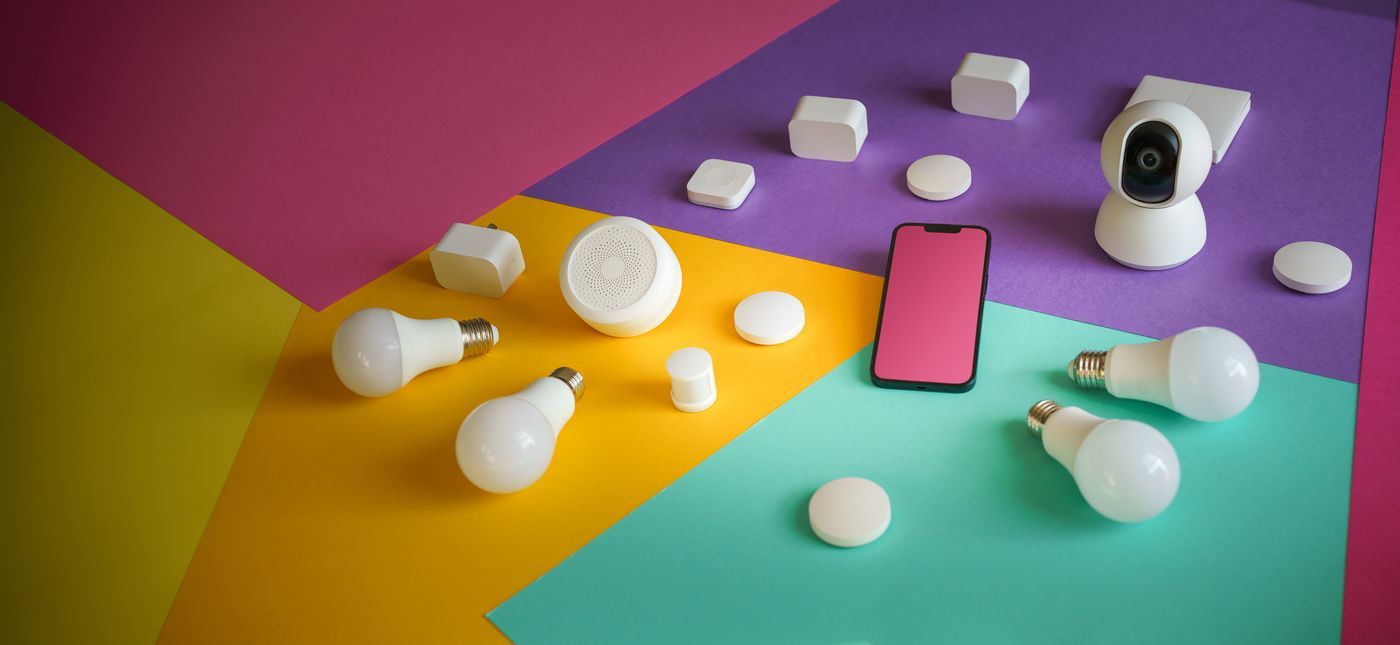
IoT means connecting ordinary objects, such as a bulb, a pump, a door or a dustbin, to the internet so that they can send information and receive commands. The object gets a small computer (a microcontroller), some sensors to feel the world, and a network connection to talk to a phone or a server.
Every IoT device does four things: sense, send, decide and act.
How an IoT system works
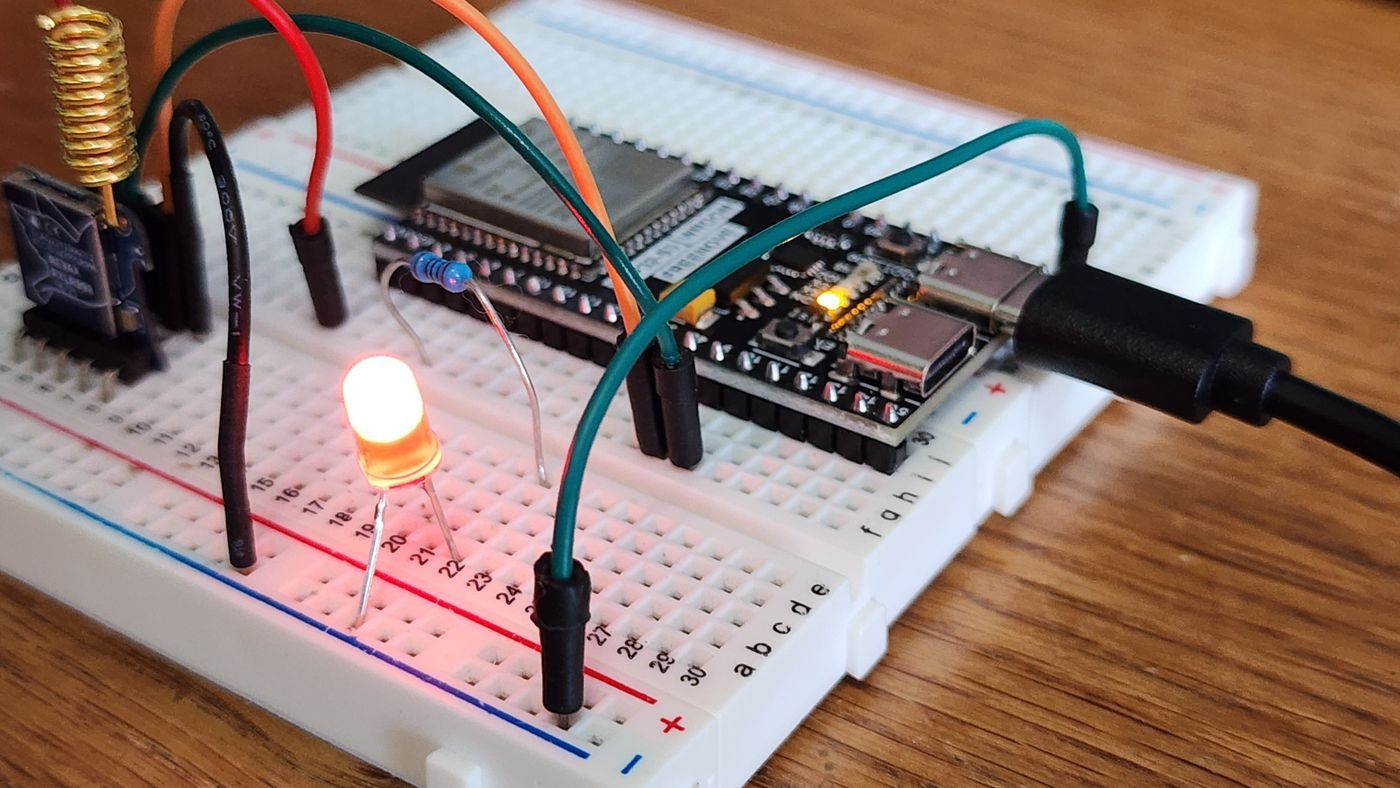
Every IoT project, from a toy to a factory, follows the same five steps:
- 1SenseSensors measure something real: temperature, soil moisture, light, distance, gas or motion.
- 2ProcessA microcontroller such as the ESP32 reads the sensors and runs your program.
- 3ConnectThe data travels over Wi-Fi, Bluetooth or another network to a phone or a server.
- 4Store and showA cloud service or a web page keeps the data and shows it on a dashboard, with alerts if needed.
- 5ActA relay, motor, buzzer or display responds, either automatically or when you press a button on your phone.
Where is IoT used?
What you need to start
- ESP32 development board: the brain, with Wi-Fi and Bluetooth built in
- A few sensors: DHT11 for temperature and humidity, a soil moisture sensor, an ultrasonic sensor and an LDR for light
- A relay module and jumper wires, to switch things on and off
- Breadboard and a good USB cable: some cables only charge and cannot send data, so keep one that works
- Arduino IDE with the ESP32 board package installed
- A Wi-Fi network (the original ESP32 works on 2.4 GHz) and a phone
Which board should you choose?
| Arduino Uno | ESP32 | Raspberry Pi | |
|---|---|---|---|
| Type | Microcontroller | Microcontroller | Small computer |
| Wi-Fi / Bluetooth | Not built in | Built in | Built in on most models |
| Speed | 16 MHz | Up to 240 MHz, two cores | More than 1 GHz |
| Runs | Your program only | Your program only | Linux operating system |
| Best for | Learning the basics | IoT, sensors and control | Cameras, AI and heavy processing |
5 beginner IoT projects
Your first IoT program: control an LED from your phone
This program connects the ESP32 to your Wi-Fi and starts a tiny web server. Open the address that the Serial Monitor shows, followed by /on or /off, in your phone browser. Change the Wi-Fi name and password first.
#include <WiFi.h>
#include <WebServer.h>

const char* ssid = "YOUR_WIFI_NAME";
const char* password = "YOUR_WIFI_PASSWORD";
const int ledPin = 2;          // many ESP32 boards have an LED on pin 2

WebServer server(80);

void handleOn()  { digitalWrite(ledPin, HIGH); server.send(200, "text/plain", "LED ON"); }
void handleOff() { digitalWrite(ledPin, LOW);  server.send(200, "text/plain", "LED OFF"); }

void setup() {
  Serial.begin(115200);
  pinMode(ledPin, OUTPUT);
  WiFi.begin(ssid, password);
  while (WiFi.status() != WL_CONNECTED) delay(500);
  Serial.println(WiFi.localIP());   // open http://this-address/on in your browser
  server.on("/on", handleOn);
  server.on("/off", handleOff);
  server.begin();
}

void loop() {
  server.handleClient();
}
Common mistakes to avoid
- 5 V sensors on ESP32 pins: the ESP32 pins work at 3.3 V, so check that a sensor is safe at 3.3 V or use a level shifter
- A 5 GHz Wi-Fi network: the original ESP32 connects only to 2.4 GHz networks
- A charge-only USB cable, which makes the board look dead because the computer never sees it
- Forgetting a common ground between the ESP32, the sensor and the relay module
- Sharing code with your Wi-Fi password still inside it
A simple learning path
- Step 1Learn basic electronics, circuits and how to use a multimeter
- Step 2Learn Arduino programming with LEDs, buttons and sensors
- Step 3Move to the ESP32 and connect it to Wi-Fi
- Step 4Build one of the five projects above and make it work reliably
- Step 5Add a phone app or a cloud dashboard, and then build your own idea
Learn IoT hands-on at Robozz Lab
At Robozz Lab in Indore, IoT and smart devices are a core part of what we teach and build: ESP32 projects with sensors, relays, Wi-Fi and phone control, from smart irrigation to home automation. You build each project yourself with a trainer beside you, so you understand every wire and every line of code. If you are a student looking for a school or final-year project, we can guide you from the idea to the viva.
Have a question? Message us on WhatsApp.
Talk to the Robozz Lab team directly about projects, school labs, training or internships.