What Is a Microcontroller? History and 8051 Basics
In this article (10 sections)
- What is a microcontroller?
- What was there before microcontrollers?
- Why the microcontroller was needed
- What programming languages were used?
- The 8051 in simple words
- Basic points to remember about the 8051 pins
- Hello World of the 8051: blink an LED
- From 8051 to Arduino and ESP32
- Is the 8051 still worth learning?
- How to start
Every washing machine, AC remote, car dashboard and smartwatch has a tiny computer inside it. That computer is a microcontroller. To understand why it exists, it helps to look at what engineers did before it, and how the 8051 became the chip that many of us learned first.
What is a microcontroller?
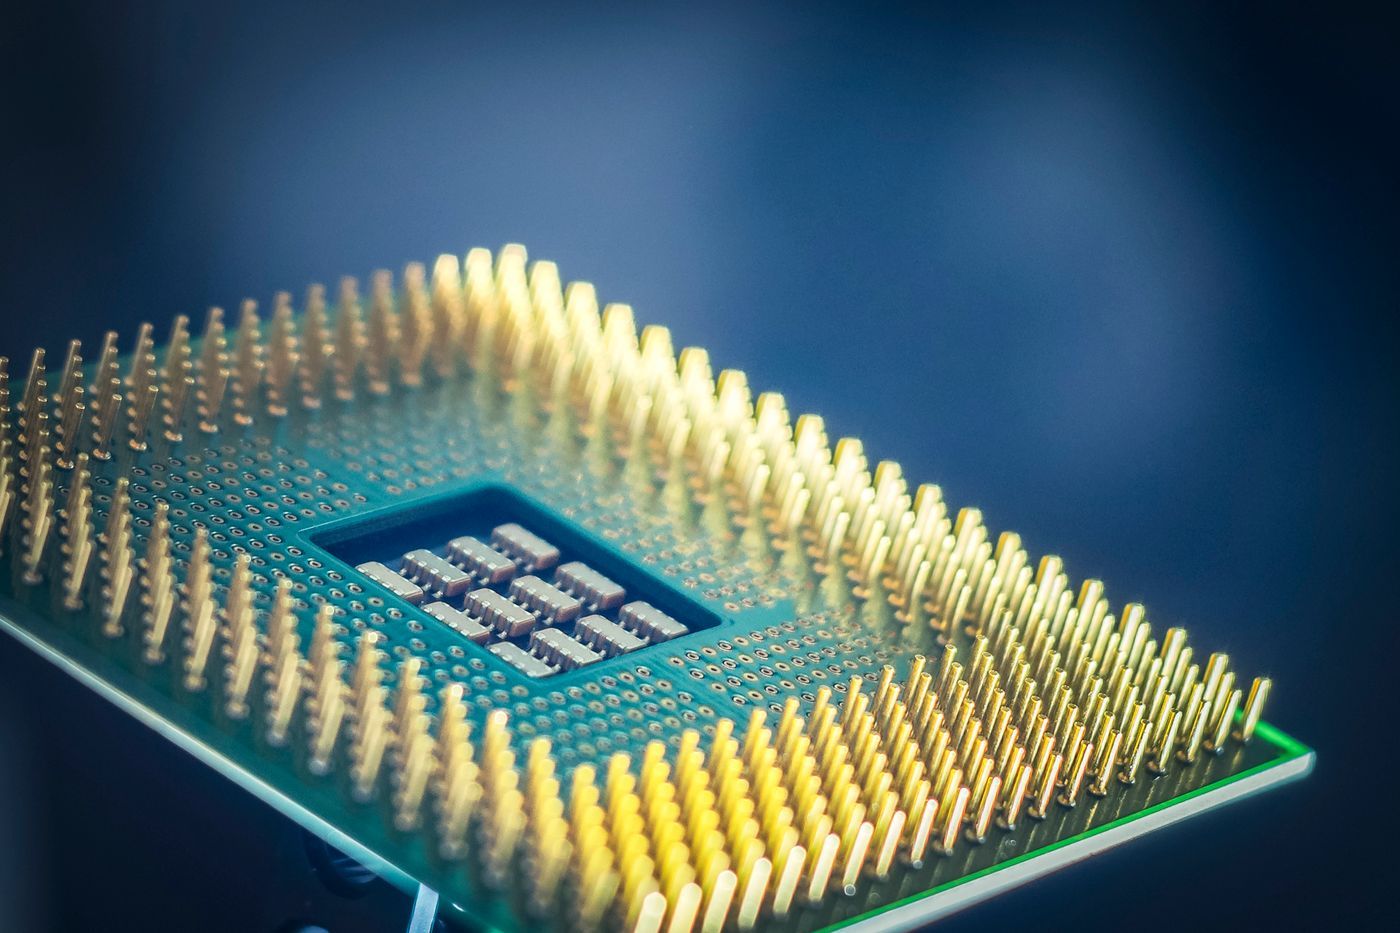
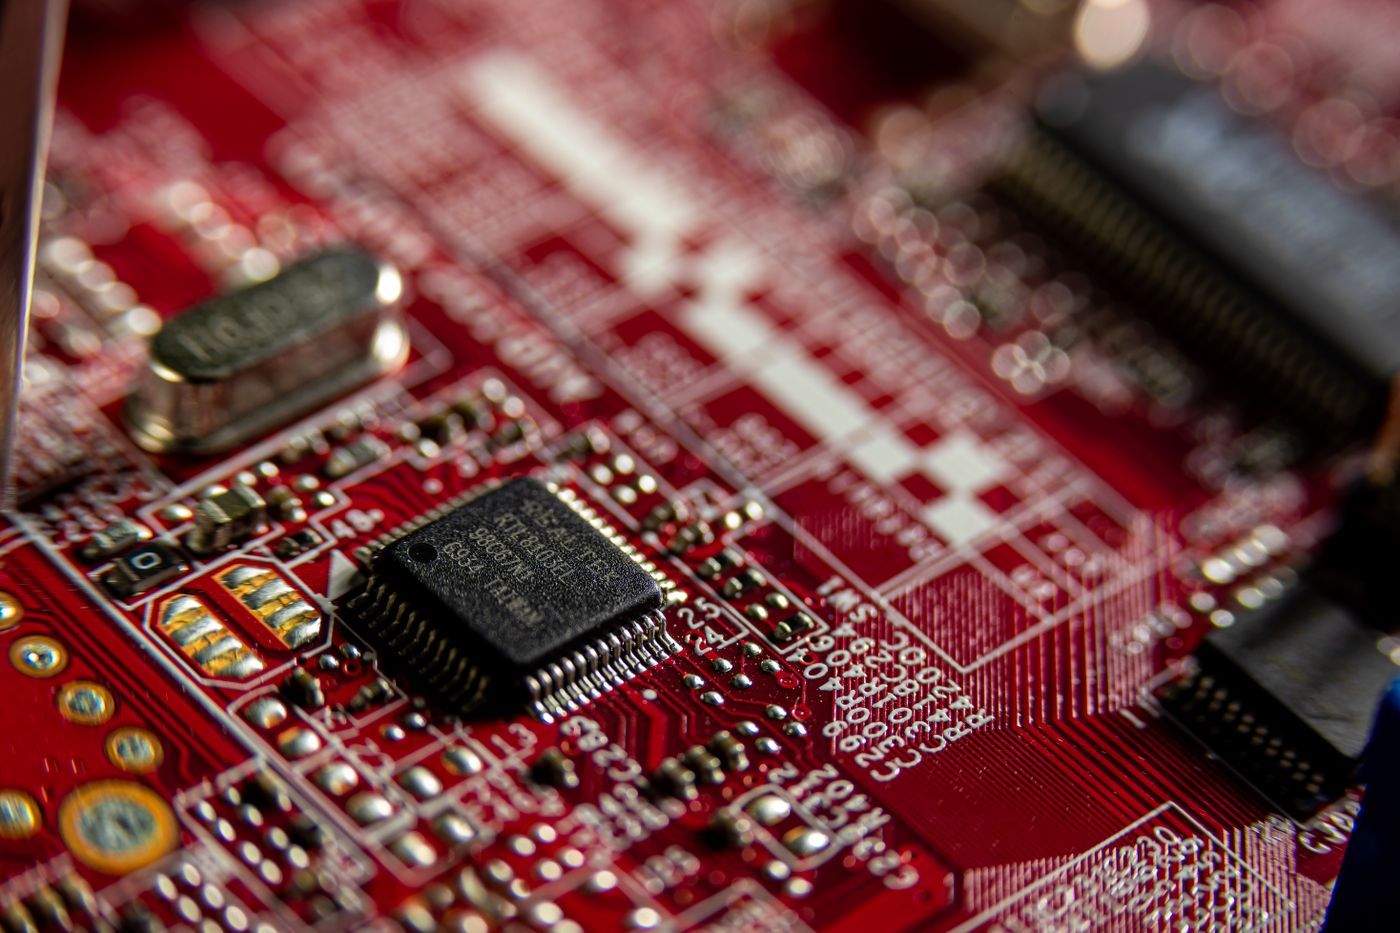
A microcontroller is a small computer on a single chip. It has a processor (CPU), memory to store the program and the data, input and output pins to talk to the outside world, and usually timers and a serial port, all inside one package. You load a program into it, connect sensors and switches to its input pins and motors, LEDs and displays to its output pins, and it keeps running your program.
A microprocessor is only the brain and needs other chips around it. A microcontroller is the brain, the memory and the hands, all on one chip.
What was there before microcontrollers?
Early electronic control was built from relays and vacuum tubes, and later from transistors and logic chips such as the 7400 series. These circuits were hardwired. The behaviour of the machine was fixed by how the wires and gates were connected, so if you wanted to change one thing you had to redesign and rewire the board. Complex products needed large boards with hundreds of chips, which cost a lot, used a lot of power and failed often.
The microprocessor arrived in the early 1970s, with chips such as the Intel 4004 and, a little later, the 8080. Now the behaviour could be changed by changing a program. But a microprocessor on its own could not do much. You still had to add separate chips for program memory (ROM), data memory (RAM), input and output and timing, and connect them all with wires. The board was smaller than before, but still large and costly for simple jobs.
Why the microcontroller was needed
- Cost: one chip instead of five or six makes a product cheaper to build.
- Size and power: fewer chips mean a smaller board and less power use.
- Reliability: fewer connections mean fewer things that can fail.
- Flexibility: change the program, not the hardware.
- Simplicity: a designer could now add intelligence to a simple product like a toy or a washing machine.
In the mid-1970s the first microcontrollers appeared, and in 1976 Intel released the 8048 family. Then in 1980 Intel launched the MCS-51 family, led by the 8051, which became one of the most widely used microcontrollers in the world.
What programming languages were used?
- Machine code: the earliest programs were written as numbers in binary or hexadecimal, one instruction at a time. It was slow and very easy to get wrong.
- Assembly language: instead of numbers, you write short words such as MOV and SETB, and a tool called an assembler converts them to machine code. This was the main language for 8051 in the early years, and it gives full control of the hardware.
- C language: a compiler, for example Keil C51, lets you write in C and converts it to machine code. It is faster to write and easier to read, and it became the standard way to program microcontrollers.
- Arduino style C++ and MicroPython: today there are simple libraries and friendly tools, so that a beginner can blink an LED in a few lines.
The 8051 in simple words
The original 8051 is an 8-bit microcontroller. This means that it handles data in pieces of 8 bits (one byte) at a time. It is a 40-pin chip, and it has these main parts:
- CPU: the processor that runs the instructions. A typical 8051 runs from a 12 MHz crystal (11.0592 MHz is common when you use the serial port).
- Program memory (ROM): 4 KB inside the chip, where your program is stored.
- Data memory (RAM): 128 bytes inside the chip, where variables and registers live. Yes, only 128 bytes.
- Input and output: 32 pins arranged in four 8-bit ports called P0, P1, P2 and P3.
- Two 16-bit timers and counters: to create delays, count pulses and measure time.
- A serial port (UART): to send and receive data from a computer or another device.
- Interrupts: five sources, which let the chip stop its normal work to handle an urgent event, such as a button press or a timer finishing.
The 8051 follows the Harvard architecture, which means that the program memory and the data memory are separate. Inside the CPU there are a few important registers: the accumulator (A), register B, the working registers R0 to R7, the data pointer (DPTR), the program counter (PC) and the stack pointer (SP).
Basic points to remember about the 8051 pins
- Pin 40 is the supply (VCC, +5 V) and pin 20 is ground (GND).
- Pins 18 and 19 connect to the crystal oscillator, which sets the speed.
- Pin 9 is RESET, which restarts the program.
- Port 1 (P1) is the easiest to use for simple outputs such as LEDs.
- Port 0 needs external pull-up resistors when you use it for outputs.
Hello World of the 8051: blink an LED
Connect an LED with a resistor to pin P1.0 and ground. Here is the program in assembly. It turns the pin on, waits, turns it off and waits again, forever. The delay is roughly a tenth of a second at 12 MHz.
ORG 0000H
LOOP:  SETB P1.0        ; LED on
       ACALL DELAY
       CLR  P1.0        ; LED off
       ACALL DELAY
       SJMP LOOP        ; repeat forever

DELAY: MOV R2, #200
D1:    MOV R3, #250
D2:    DJNZ R3, D2
       DJNZ R2, D1
       RET
END
The same program in C, written for the Keil compiler, is shorter and easier to read:
#include <reg51.h>

sbit LED = P1^0;

void delay(unsigned int ms) {
  unsigned int i, j;
  for (i = 0; i < ms; i++)
    for (j = 0; j < 123; j++);   // about 1 ms at 12 MHz
}

void main() {
  while (1) {
    LED = 1;
    delay(500);
    LED = 0;
    delay(500);
  }
}
And here is the same idea on an Arduino, which hides most of the details:
void setup() {
  pinMode(13, OUTPUT);
}

void loop() {
  digitalWrite(13, HIGH);
  delay(500);
  digitalWrite(13, LOW);
  delay(500);
}
From 8051 to Arduino and ESP32
- 8051 (1980): 8 bit, about 12 MHz, 4 KB of program memory and 128 bytes of RAM. Programmed in assembly or C. Simple and good for learning how a microcontroller works inside.
- AVR and Arduino (ATmega328P on the Arduino Uno): 8 bit, 16 MHz, 32 KB of flash and 2 KB of RAM. Arduino made programming and uploading very easy and brought electronics to millions of beginners.
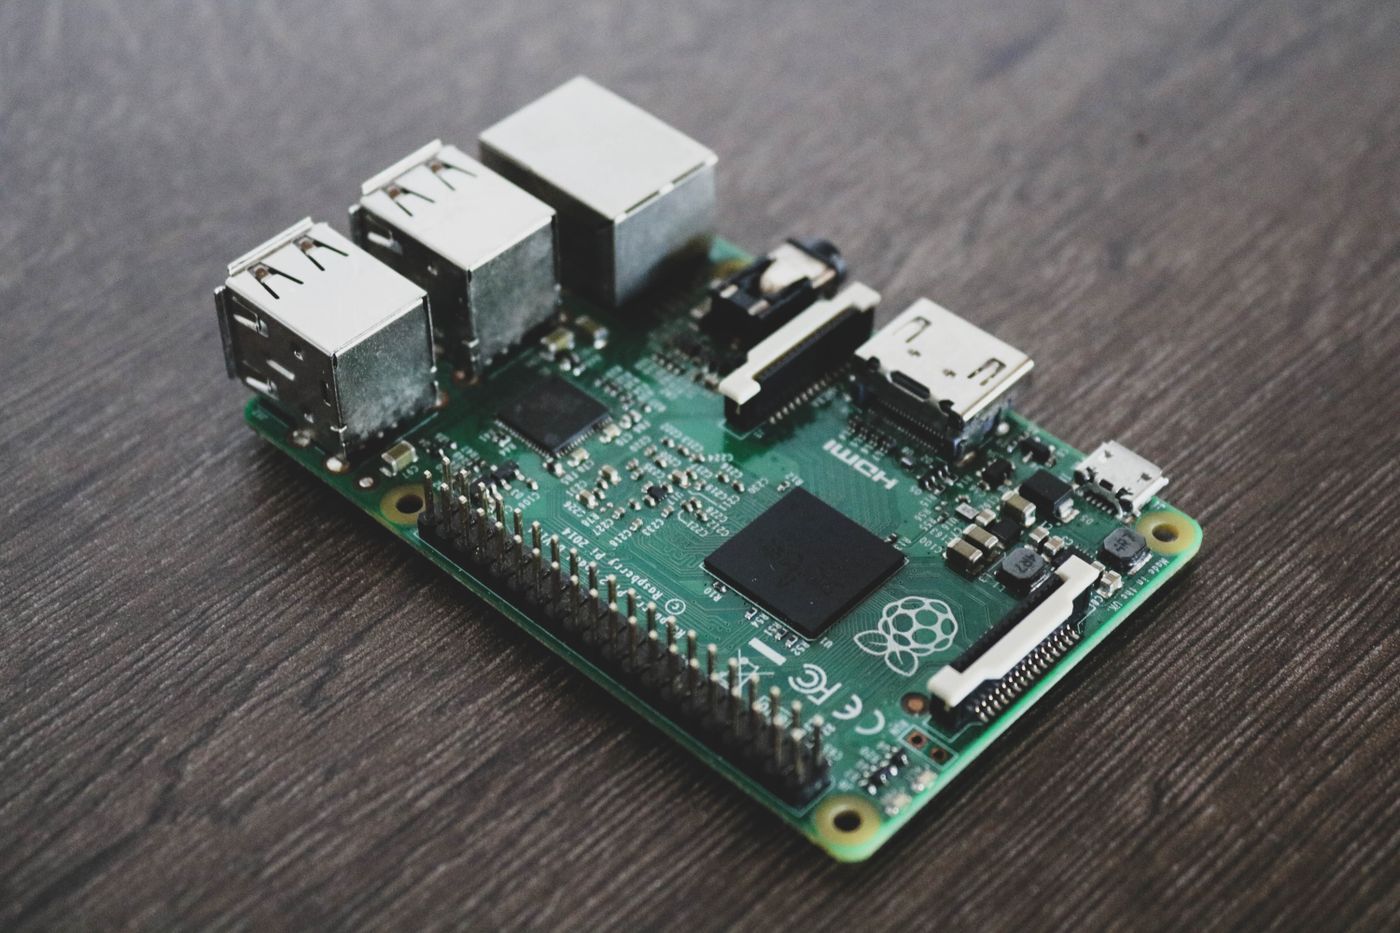
- ESP32 (2016): 32 bit, dual core, up to 240 MHz, with built-in Wi-Fi and Bluetooth. This is the usual choice for IoT projects today.
- ARM Cortex-M chips such as the STM32: 32 bit, powerful and common in industry.
Is the 8051 still worth learning?
Yes, as a way to learn. The 8051 is simple enough to understand completely: its registers, memory, ports, timers and interrupts. Once you understand it, every other microcontroller feels familiar. Many college syllabuses still teach it for this reason. For a new product or a modern project, though, most people choose an Arduino, an ESP32 or an ARM based chip.
How to start
- Learn basic electronics first: voltage, current, resistors, LEDs and how to read a circuit diagram.
- Learn the idea of ports, timers and interrupts with a simulator or an 8051 kit, and blink an LED with it.
- Move to Arduino and ESP32 to build real projects quickly, with sensors, displays and Wi-Fi.
- Practise on real hardware, and keep a notebook of every circuit and every error that you fix.
At Robozz Lab in Indore we teach microcontrollers hands-on, from basic electronics to Arduino, ESP32 and embedded C. If you want to understand how a chip works from the inside and then build projects with it, you can start with us and learn with a trainer beside you.
Have a question? Message us on WhatsApp.
Talk to the Robozz Lab team directly about projects, school labs, training or internships.